
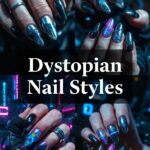
Dystopian Nail Styles: Art for the End of an Era
November 18, 2025
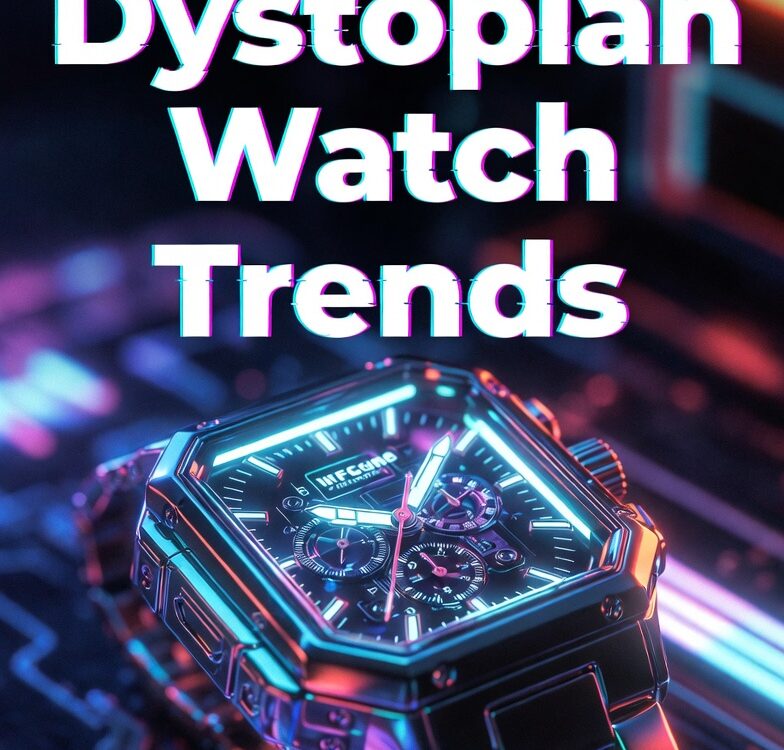
The Rise of Dystopian Watch Trends: More Than Just Time
November 19, 2025
Fashion has always been a mirror to the times, reflecting our hopes, fears, and artistic impulses. A powerful trend making waves in alternative and mainstream circles is dystopian fashion, which blends futuristic grit with a survivalist edge. While full outfits can be elaborate, one of the most accessible ways to embrace this aesthetic is through accessories. This is where the appeal of DIY dystopian chokers comes into play—a unique project that lets you craft a piece of wearable art.
This guide will walk you through everything you need to know about creating your own DIY dystopian chokers. We will explore the inspirations behind this compelling style, list the materials you can use, provide step-by-step instructions for different designs, and offer tips on how to style your finished creation. Get ready to transform everyday materials into an accessory that tells a story of resilience and rebellion.
What Defines a Dystopian Choker?
Unlike traditional chokers made from velvet or lace, a dystopian choker embodies a “high tech, low life” ethos. It rejects delicate beauty in favor of textures and forms that suggest industrial decay, cybernetic augmentation, and makeshift survival gear. These pieces are not just decorative; they are narrative. They look like they could have been scavenged from a forgotten factory, pieced together from spare electronic parts, or designed as functional gear for a post-apocalyptic world.
The core of the dystopian aesthetic lies in its blend of the organic and the synthetic, the worn and the futuristic. Think weathered leather paired with gleaming chrome, tangled wires held by heavy-duty hardware, or rusted chains adorned with a single, glowing LED. Making your own DIY dystopian chokers allows you to experiment with these contrasting elements to create something truly unique.
Inspirations for Your Dystopian Designs
The visual language of dystopian style pulls from a rich history of science fiction, subcultures, and real-world design. Understanding these sources can fuel your own creative process.
Sci-Fi and Cyberpunk Media
Films like Mad Max, Blade Runner, and The Matrix are foundational texts for dystopian fashion. Mad Max provides inspiration for rugged, survivalist gear made from salvaged parts like tire scraps, chains, and leather. The cyberpunk world of Blade Runner influences designs with its focus on glowing neon, intricate wiring, and a gritty, urban feel. The Matrix contributes a sleeker, more minimalist tech-wear vibe with its use of black leather, buckles, and metallic hardware.
Industrial and Post-Apocalyptic Aesthetics
The industrial look celebrates the raw beauty of machinery and urban infrastructure. This translates into chokers that use materials like bolts, hex nuts, metal plates, and brushed aluminum. The post-apocalyptic theme emphasizes resourcefulness. It encourages a “found object” approach, where you might incorporate things like keys, bottle caps, or pieces of broken electronics into your design.
Tech-Wear and Functional Gear
Modern tech-wear, with its focus on utility and performance, also influences dystopian accessories. This can be seen in the use of nylon webbing, quick-release buckles, D-rings, and carabiners. These elements give your choker a practical, tactical feel, as if it’s part of a larger uniform designed for a challenging future.
Gathering Your Materials: The Scavenger’s Toolkit
Creating DIY dystopian chokers is all about being resourceful. You can find materials at hardware stores, craft shops, electronics suppliers, and even in your own junk drawer.
Base Materials:
- Leather or Faux Leather: Strips of black or brown leather provide a classic, durable base. Look for worn or distressed textures.
- Rubber or Silicone: Sheets of black rubber (like from an old inner tube) or thick silicone offer a sleek, futuristic look.
- Nylon Webbing: Available in various widths and colors, this is perfect for a tech-wear or tactical style.
- Bike Chains or Thick Metal Chains: The ultimate industrial statement. Ensure you have the tools to cut them to size.
Hardware and Embellishments:
- Buckles: Quick-release plastic buckles, roller buckles, or center bar buckles.
- Rings and Connectors: O-rings, D-rings, and carabiners are essential for connecting straps and adding focal points.
- Nuts, Bolts, and Washers: Hardware stores are a treasure trove of small, metallic pieces that add industrial texture.
- Studs and Spikes: Pyramid studs, cone spikes, or flat studs can be easily added to leather or fabric.
- Wires and Cables: Old USB cables, headphone wires, or colorful insulated copper wire can be woven or wrapped for a cybernetic effect.
- LEDs and Battery Packs: For an advanced project, a simple LED circuit can add a futuristic glow.
Step-by-Step Guide: Three DIY Dystopian Chokers
Here are three projects, ranging from simple to more advanced, to get you started. Remember to always measure your neck circumference and add a little extra length for the closure.
Project 1: The Simple Industrial Choker
This design is a great entry point, focusing on texture and hardware.
Materials:
- A strip of black faux leather (1-2 inches wide)
- A large metal O-ring (1.5-2 inches in diameter)
- A buckle closure
- Heavy-duty craft glue or a leather punch and rivets
Instructions:
- Measure and Cut: Cut the faux leather strip to fit your neck, leaving about 2 inches of overlap for the buckle.
- Attach the O-Ring: Find the center of the leather strip. Fold the center of the strip through the O-ring so the ring sits in the loop you’ve created. Secure the loop by either gluing the leather to itself or using rivets for a more secure, industrial look.
- Add the Buckle: Attach the two parts of your buckle to either end of the choker. Most buckles will require you to loop the material through and sew or rivet it in place.
- Finishing Touches (Optional): Add some metal studs on either side of the O-ring for extra detail.
Project 2: The Cyber-Waste Wire Choker
This design uses found objects to create a tangled, high-tech look.
Materials:
- A thick base band (can be a wide leather strip or nylon webbing)
- A variety of old wires (USB cords, ethernet cables, headphone wires)
- Zip ties
- A closure of your choice (buckle or snap fasteners)
- Wire cutters
Instructions:
- Prepare the Base: Cut your base band to size and attach your chosen closure.
- Create Wire Bundles: Cut different lengths of your various wires. Group them into small, interesting bundles.
- Attach the Wires: Lay the wire bundles across the front of your base band. Use small zip ties to secure them in place. Don’t worry about being neat—the chaotic look is part of the appeal. Let some wire ends hang loose.
- Weave and Wrap: Take a few longer, more flexible wires and weave them in and out of the zip-tied bundles. Wrap them around the base band to create more texture and visual interest.
- Trim: Use wire cutters to trim the excess from the zip ties and any wire ends that are too long.
Project 3: The Tactical Webbing Choker
This project channels a functional, tech-wear vibe.
Materials:
- 1.5-inch wide black nylon webbing
- A 1.5-inch quick-release plastic buckle
- A metal D-ring or small carabiner
- Needle and heavy-duty black thread
Instructions:
- Measure and Cut: Cut a length of nylon webbing that fits comfortably around your neck, plus about 3 inches for folding.
- Attach the Buckle: Take one end of the webbing and loop it through the male end of the buckle. Fold about 1.5 inches of webbing back on itself and sew it down securely. Use a box stitch (a square with an ‘X’ inside) for maximum strength. Repeat on the other side with the female end of the buckle.
- Add the D-Ring: Before sewing the second buckle piece, slide the D-ring onto the webbing. Position it off-center for a more dynamic look. You can let it hang freely or secure it in place by sewing a small vertical line of stitches on either side of it.
- Check the Fit: Try on the choker and adjust the placement of the buckle ends before your final sewing to ensure a perfect fit.
FAQs About DIY Dystopian Chokers
Q: Are these chokers comfortable to wear?
A: Comfort depends on the materials and fit. Always sand down any sharp metal edges. Make sure the choker is not too tight; you should be able to fit two fingers comfortably between it and your neck. Lighter materials like webbing and faux leather will be more comfortable for long-term wear than heavy chains.
Q: Do I need special tools for these projects?
A: For simple designs, basic craft supplies like scissors and strong glue are enough. For more advanced projects involving metal or leather, you might need a leather punch, rivet setter, wire cutters, and pliers. These are all available at most craft and hardware stores.
Q: How do I clean my dystopian choker?
A: Cleaning methods depend on the materials. For leather and hardware, wipe them down with a damp cloth. Avoid submerging pieces with electronic components in water. For fabric webbing, you can spot-clean with mild soap and water.
Q: Can I sell the chokers I make?
A: Absolutely! Many creators sell their unique designs on platforms like Etsy. If you develop a distinct style, turning your DIY dystopian chokers hobby into a small business is a great way to share your creativity.
Final Words
Creating DIY dystopian chokers is more than just a craft project; it’s an act of personal expression. It allows you to engage with a compelling and relevant aesthetic, transforming discarded and industrial materials into a piece of art that makes a statement. The process is one of experimentation, resourcefulness, and imagination.
Whether you follow a tutorial step-by-step or use these ideas as a jumping-off point to invent something entirely new, you are participating in a creative culture that finds beauty in the unconventional. So go ahead, rummage through that hardware drawer, untangle those old cables, and craft an accessory that is uniquely yours—a small piece of a beautifully imagined, gritty future.